Publishing to iOS App Store via Apple’s TestFlight
Publishing via Create uses Apple’s TestFlight Program, allow you to test before final publication. TestFlight gives a production-like environment, so you’re able to refine and debug with a 1 to 1 replication of your current app. More info here.
1
Prepare Your App
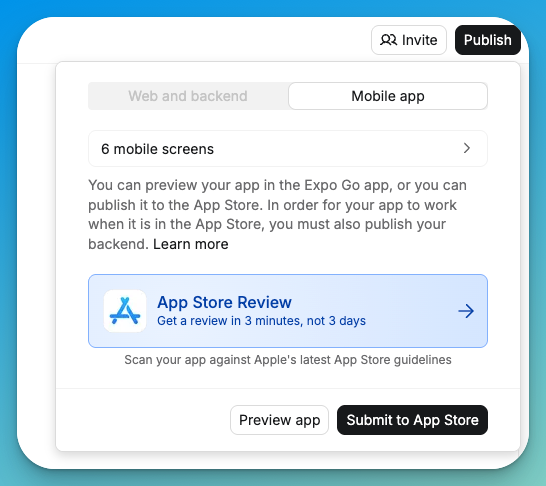
- Use our automated App Store Review system by clicking Publish in your mobile project and selecting “App Store Review”
- Obtain your Apple Developer Account
- Prepare required assets:
- App icon (1024x1024px)
- App description
- Screenshot for 13-inch iPad displays
- Screenshot for 6.5-inch iPhone displays
- Privacy policy URL using Termly
- Create a support page in your project
2
Configure App Settings and Submit
- Click the “Publish” button in Create
- Select “Submit to App Store”
Mobile App Publishing Tutorial
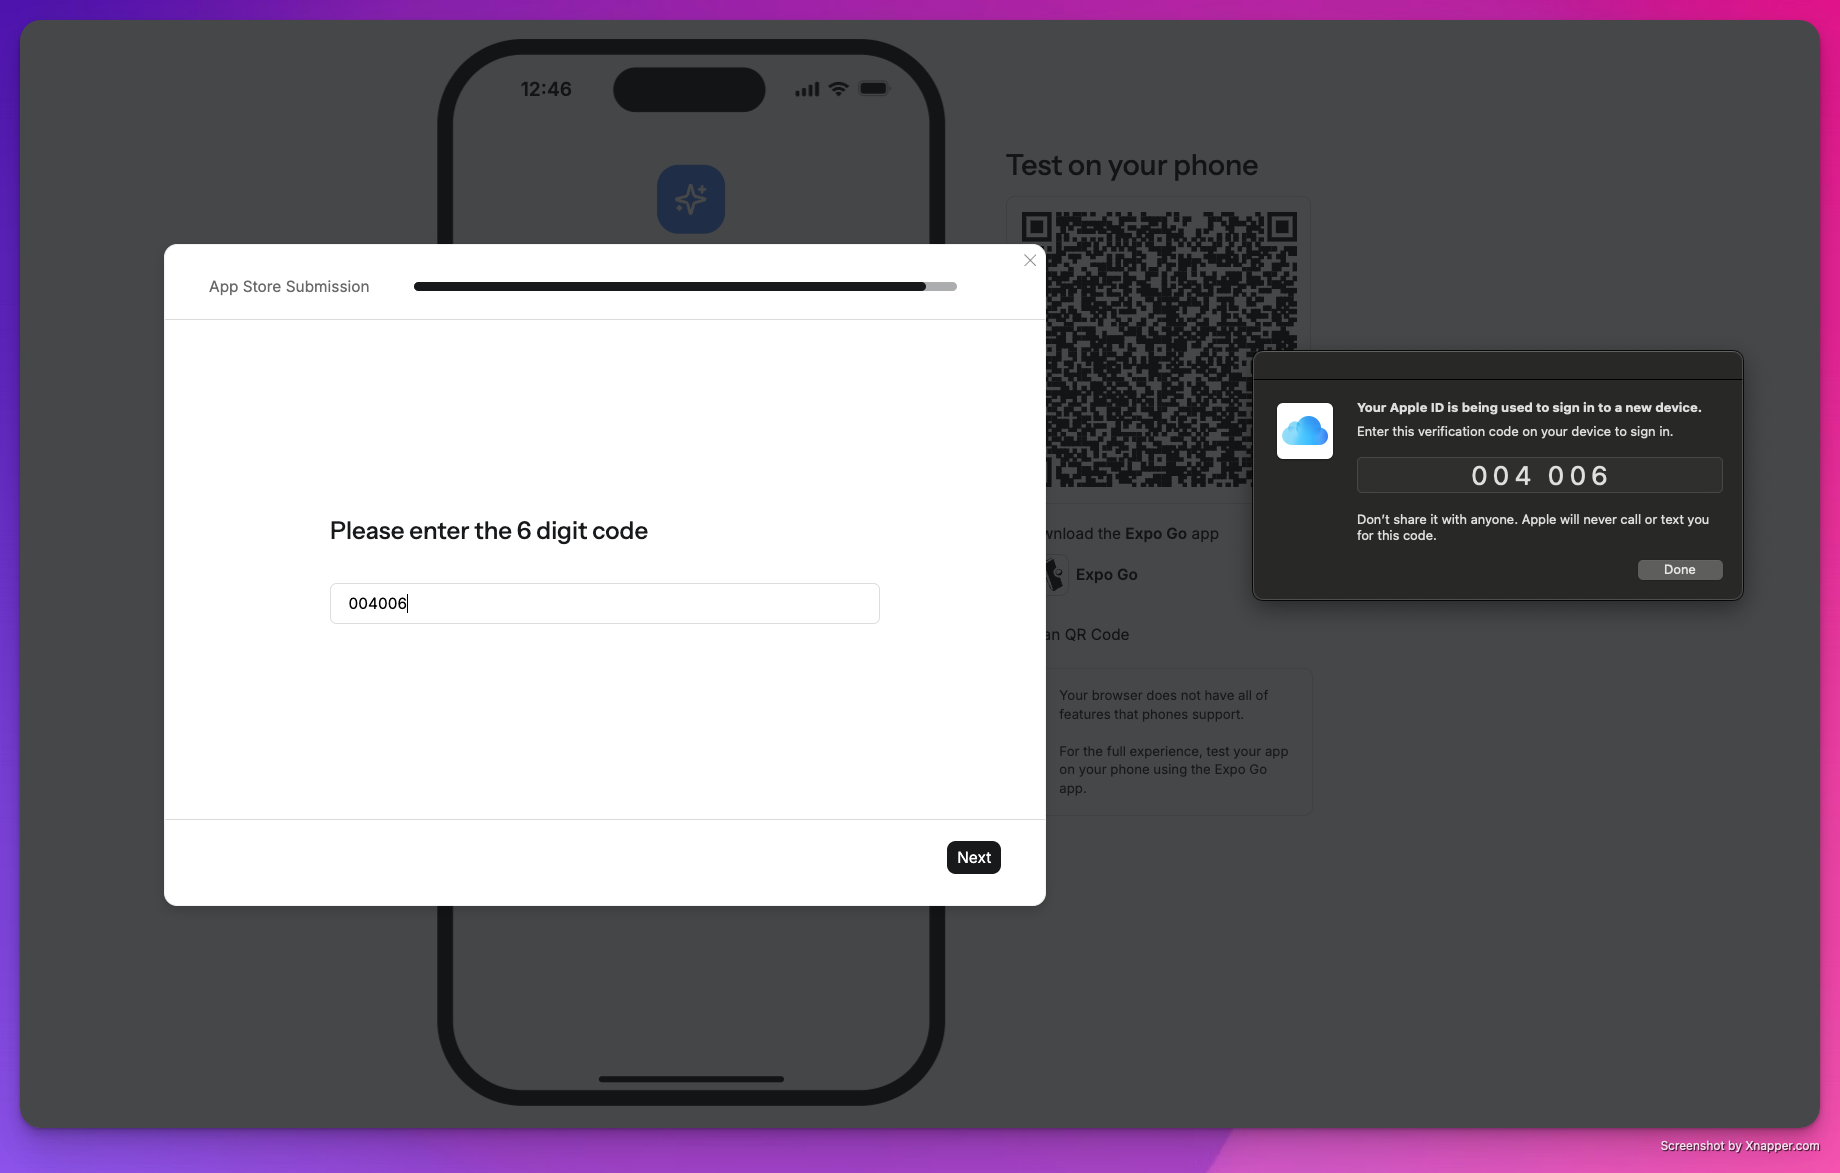
- Enter your Apple ID credentials
-
Complete text or device authentication. Text verification will send a code to your phone on record, device authentication will prompt a security code directly on any Apple or iOS devices also signed with your Apple ID.
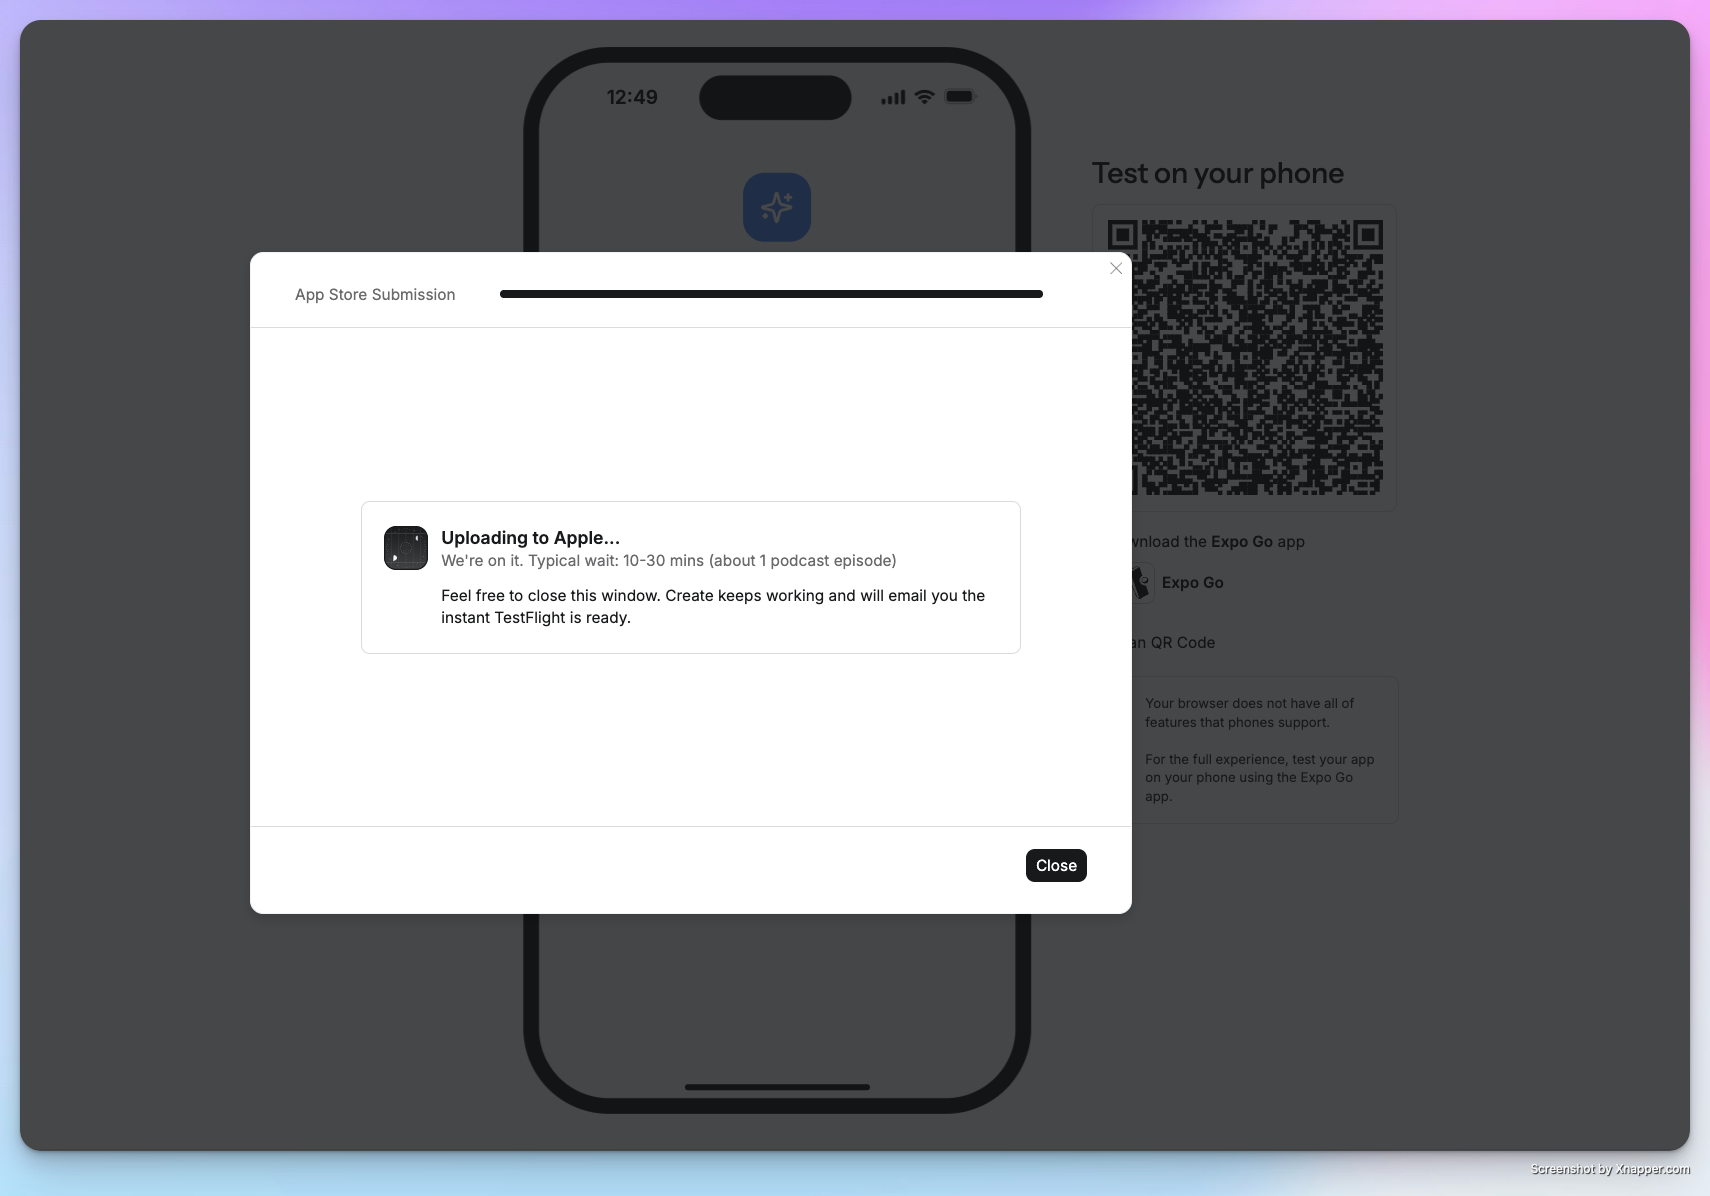
-
Create will handle the build and submission process to App Store Connect, typically completed in 30 minutes or less
3
After Submission
-
Download TestFlight from the app store and log into your developer account
No iPhone? You can use TestFlight on recent mac laptops as well to test your app
- Check your email for notifications from Apple, you should see an email from App Store Connect
- Inside should be an invitation with an invite code
- Redeem the code within TestFlight
- You only need to do this once per app

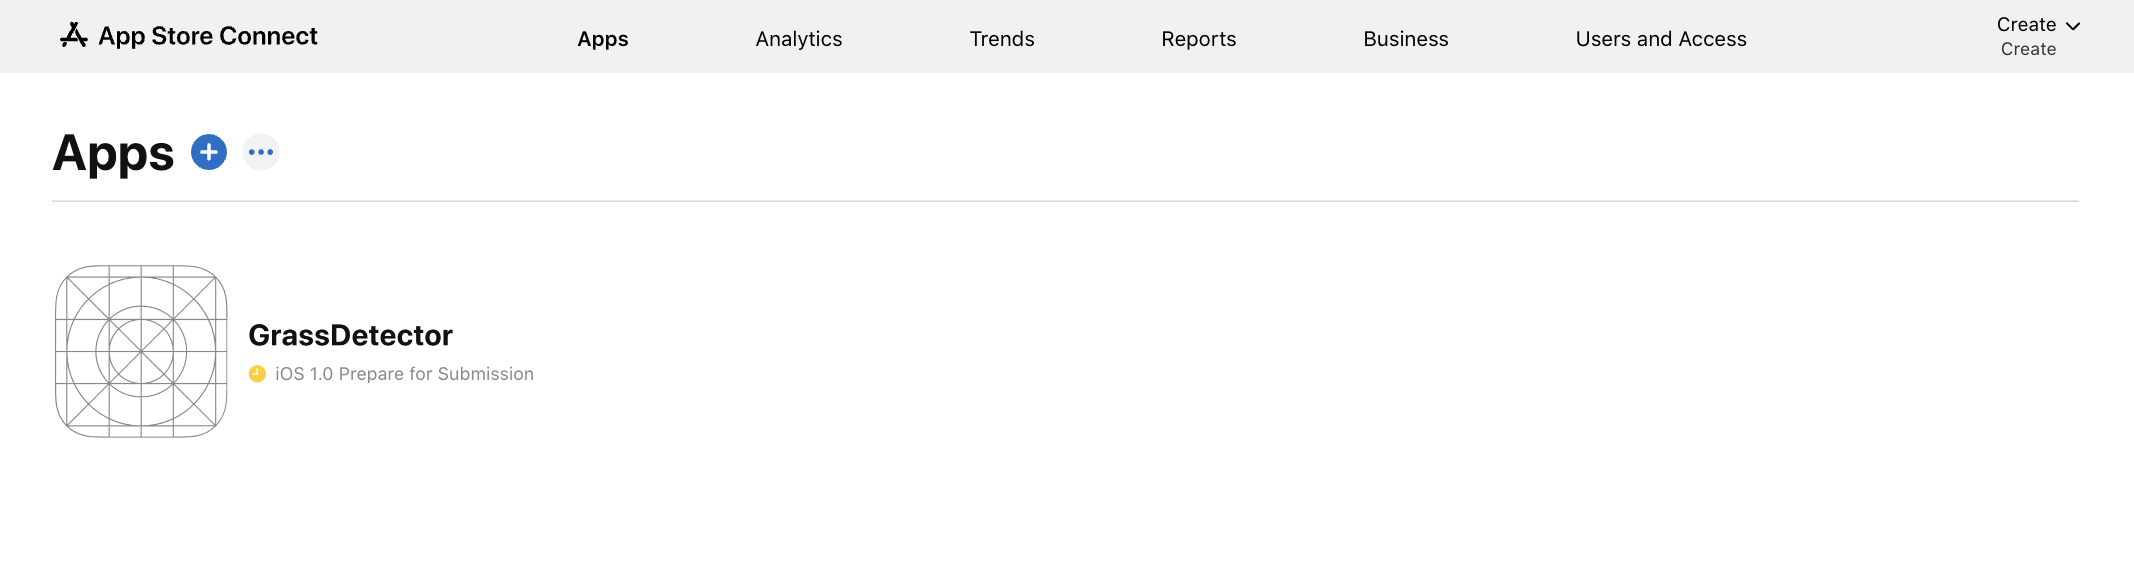
- Visit App Store Connect and login to select and view your app.
4
Testing
Within TestFlight you can now work with your app as an end user for final testing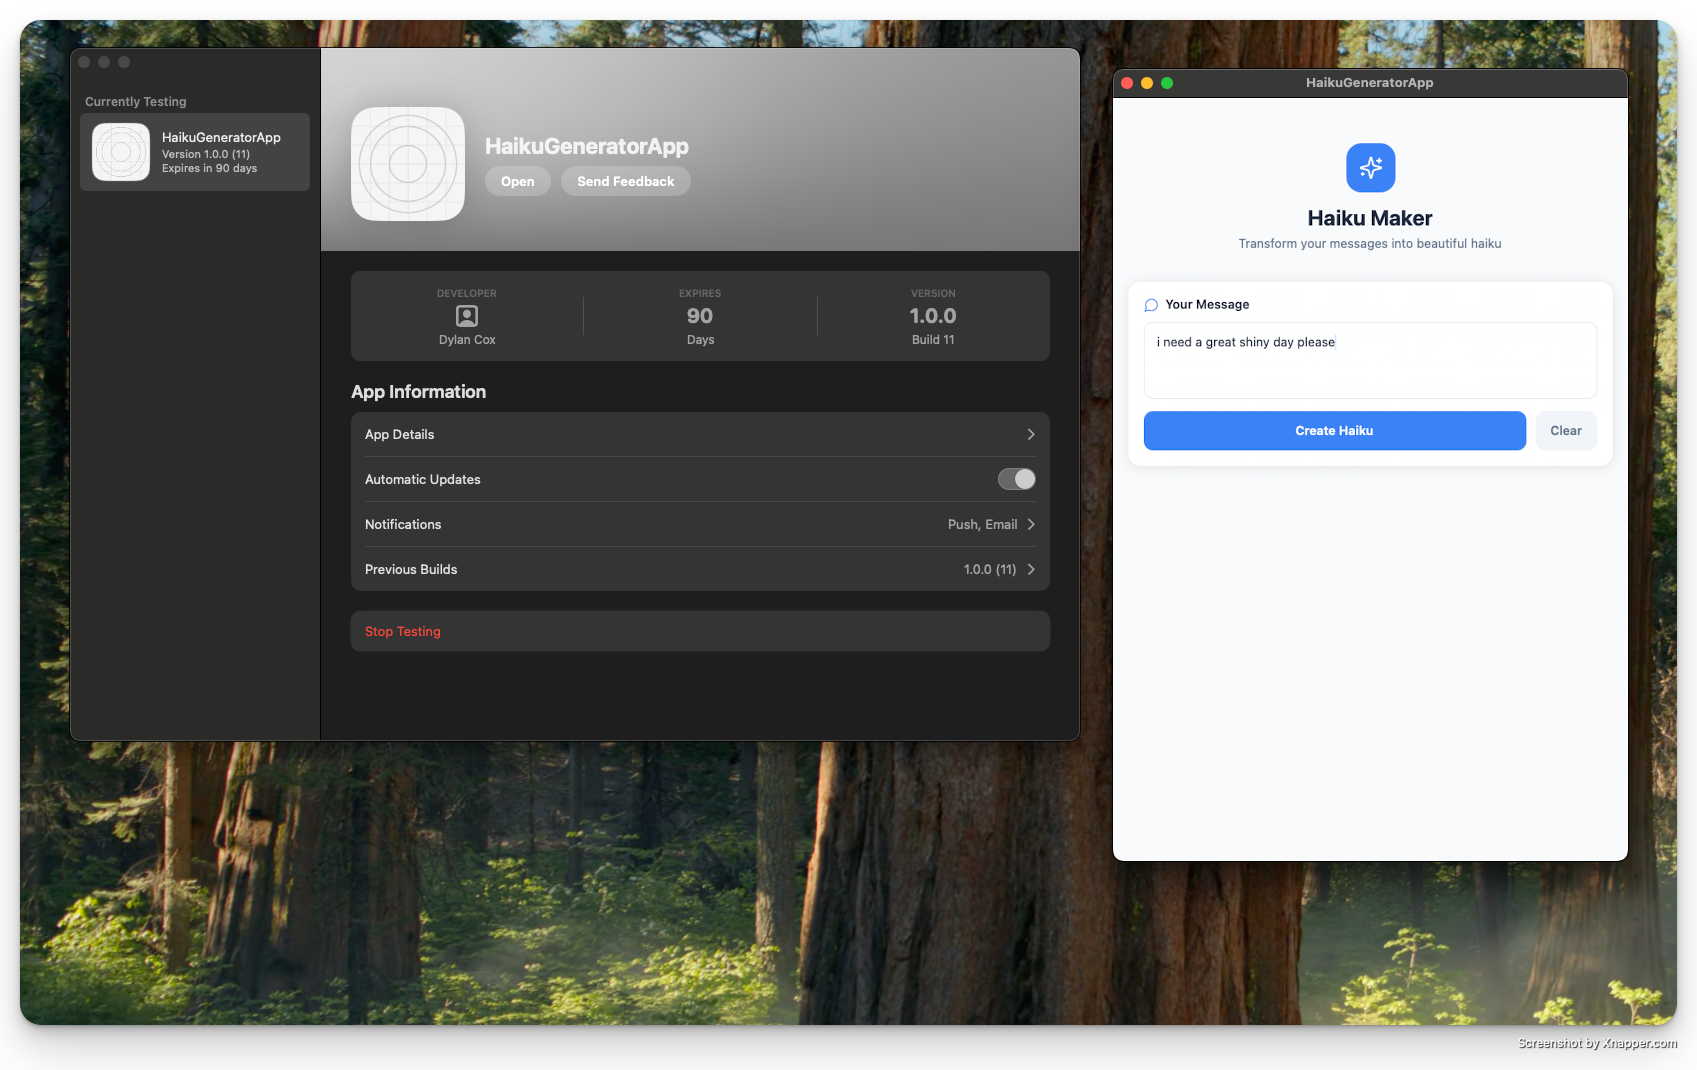
TestFlight Testing Tutorial
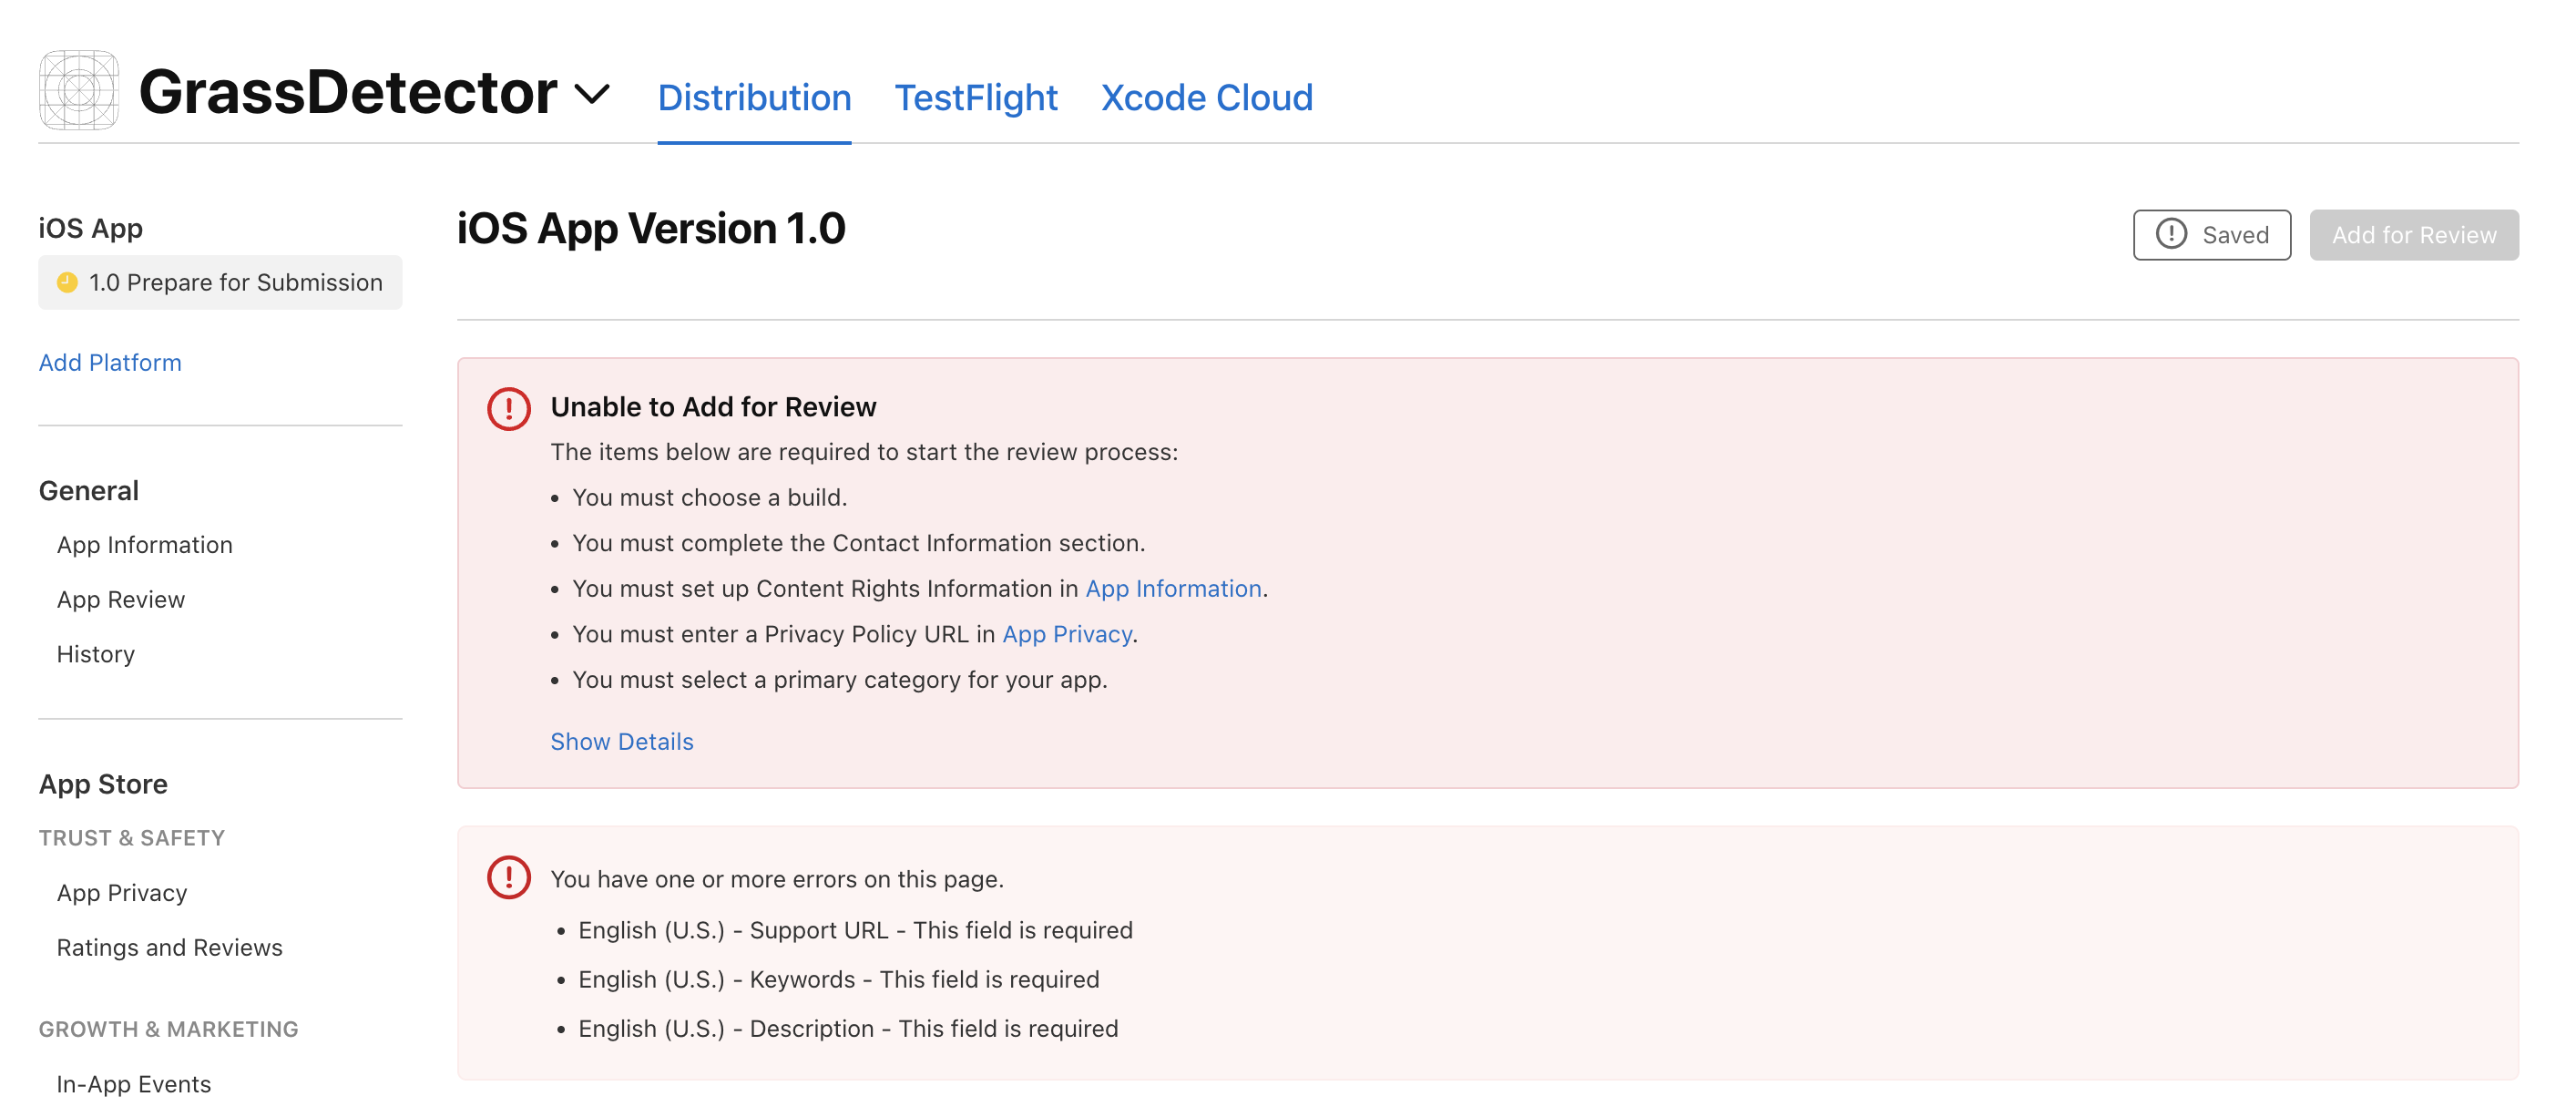
Completing Apple Requirements
Apple requires several items to be completed before your app can be reviewed for App Store launch. Here’s a comprehensive guide to completing all requirements.
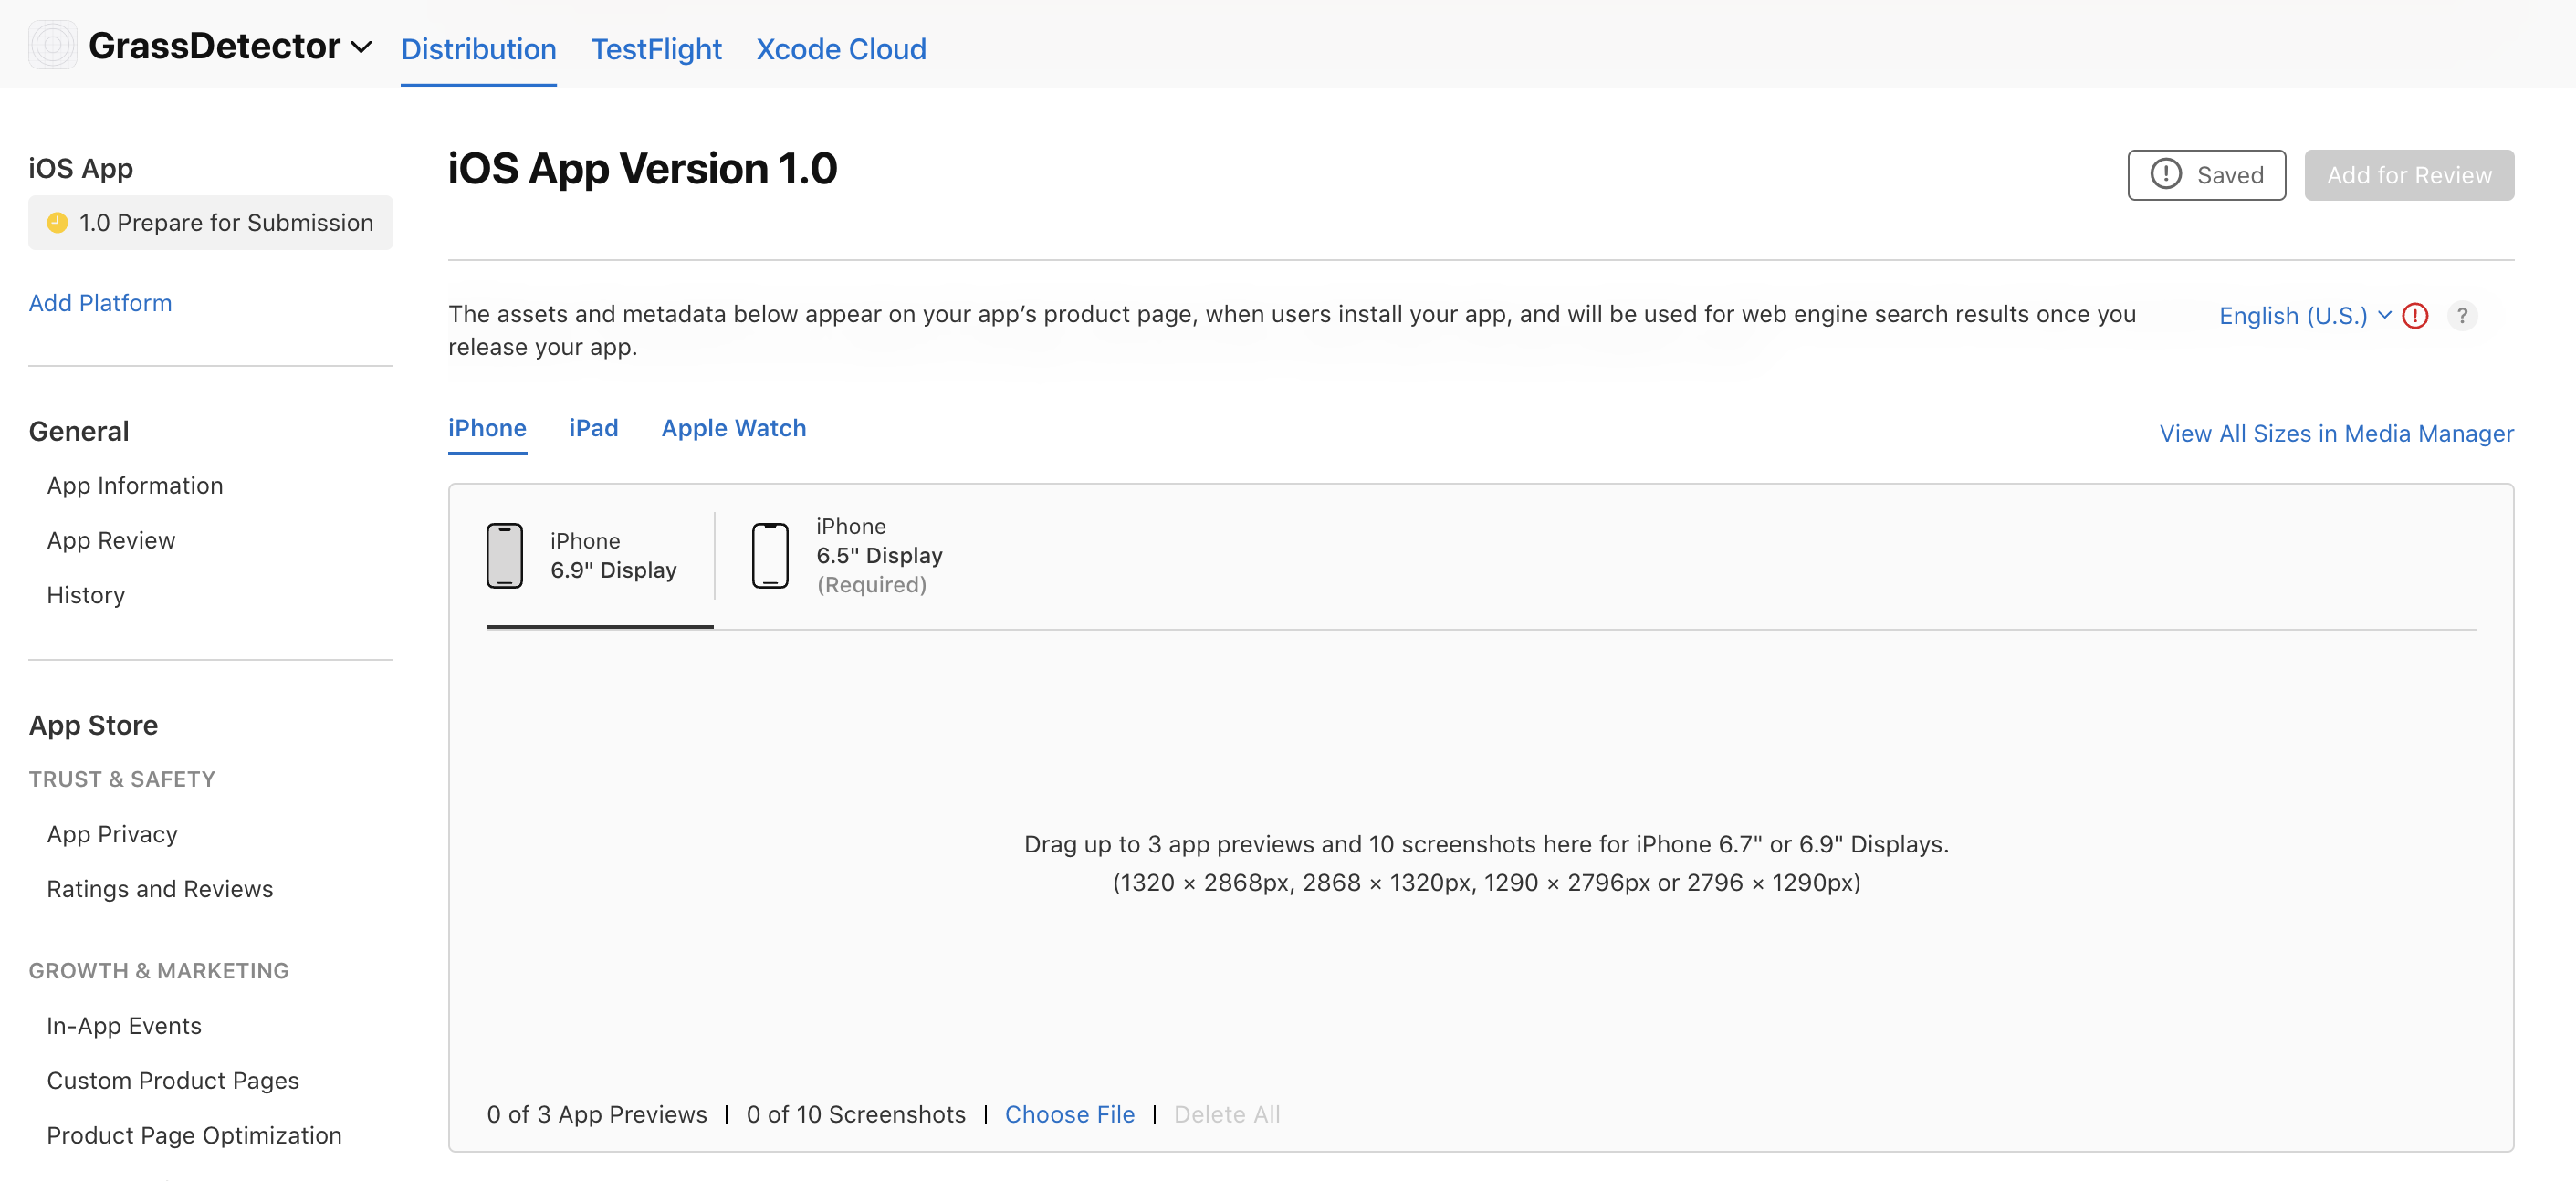
1
Upload Screenshots
- Scroll down the “Prepare for Submission” tab to find the Screenshot section.
- Upload screenshots for iPhone (6.5” and 5.5” displays)
- Upload screenshots for iPad (12.9” and 11” displays)
- Include screenshots showing key features
- Ensure screenshots are high quality and properly sized
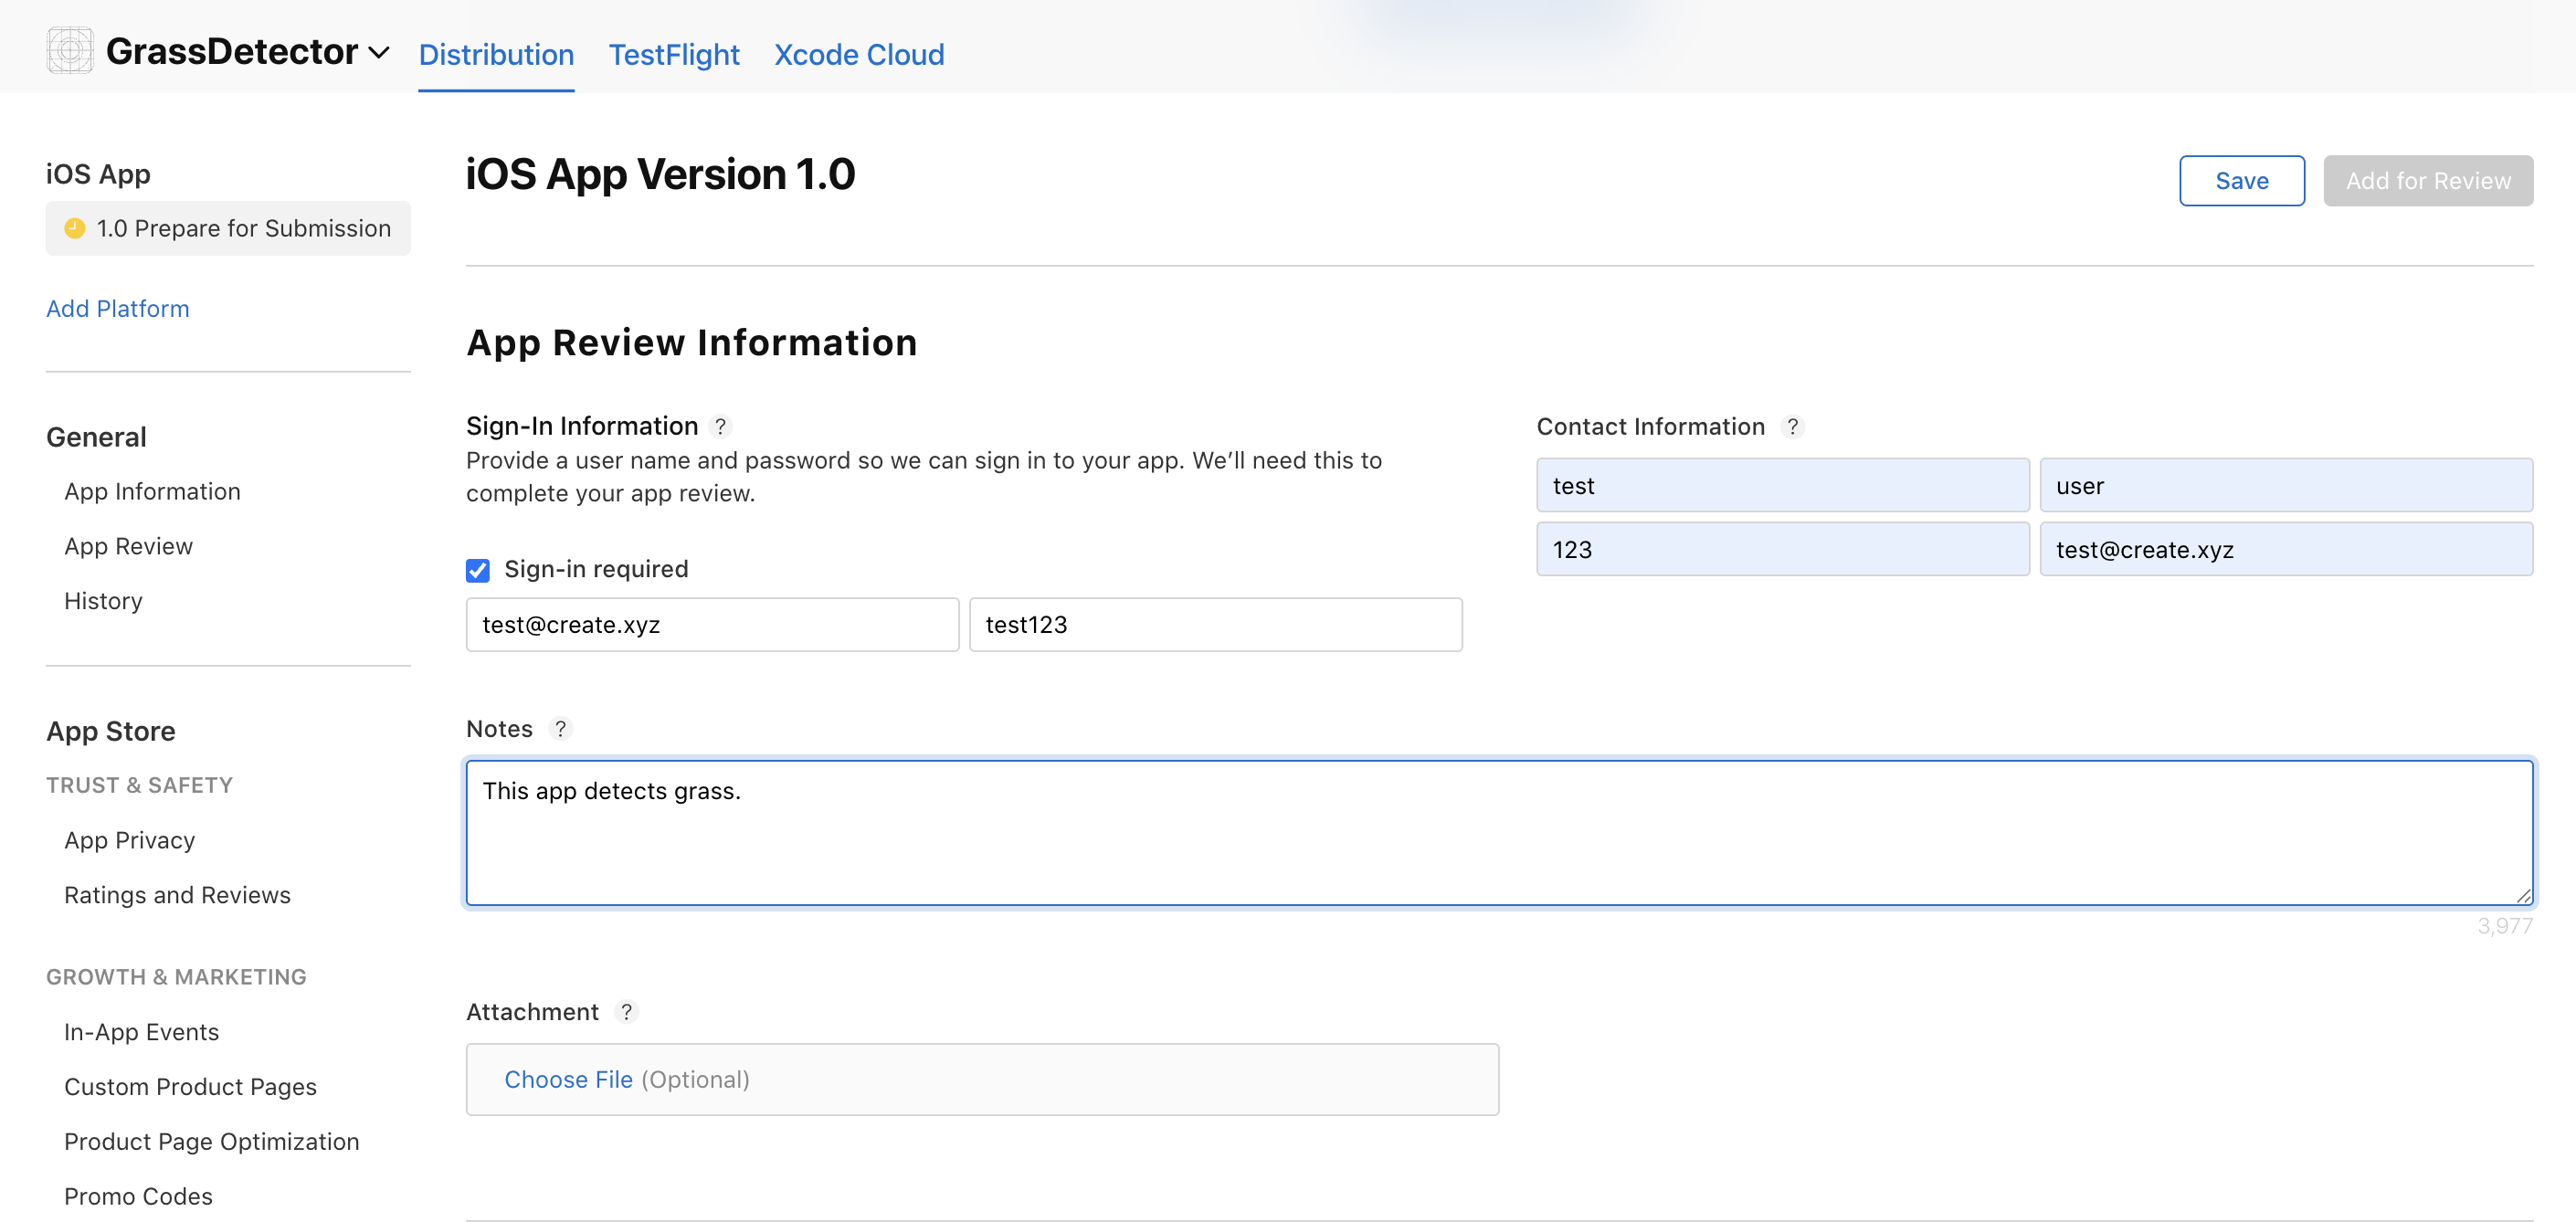
2
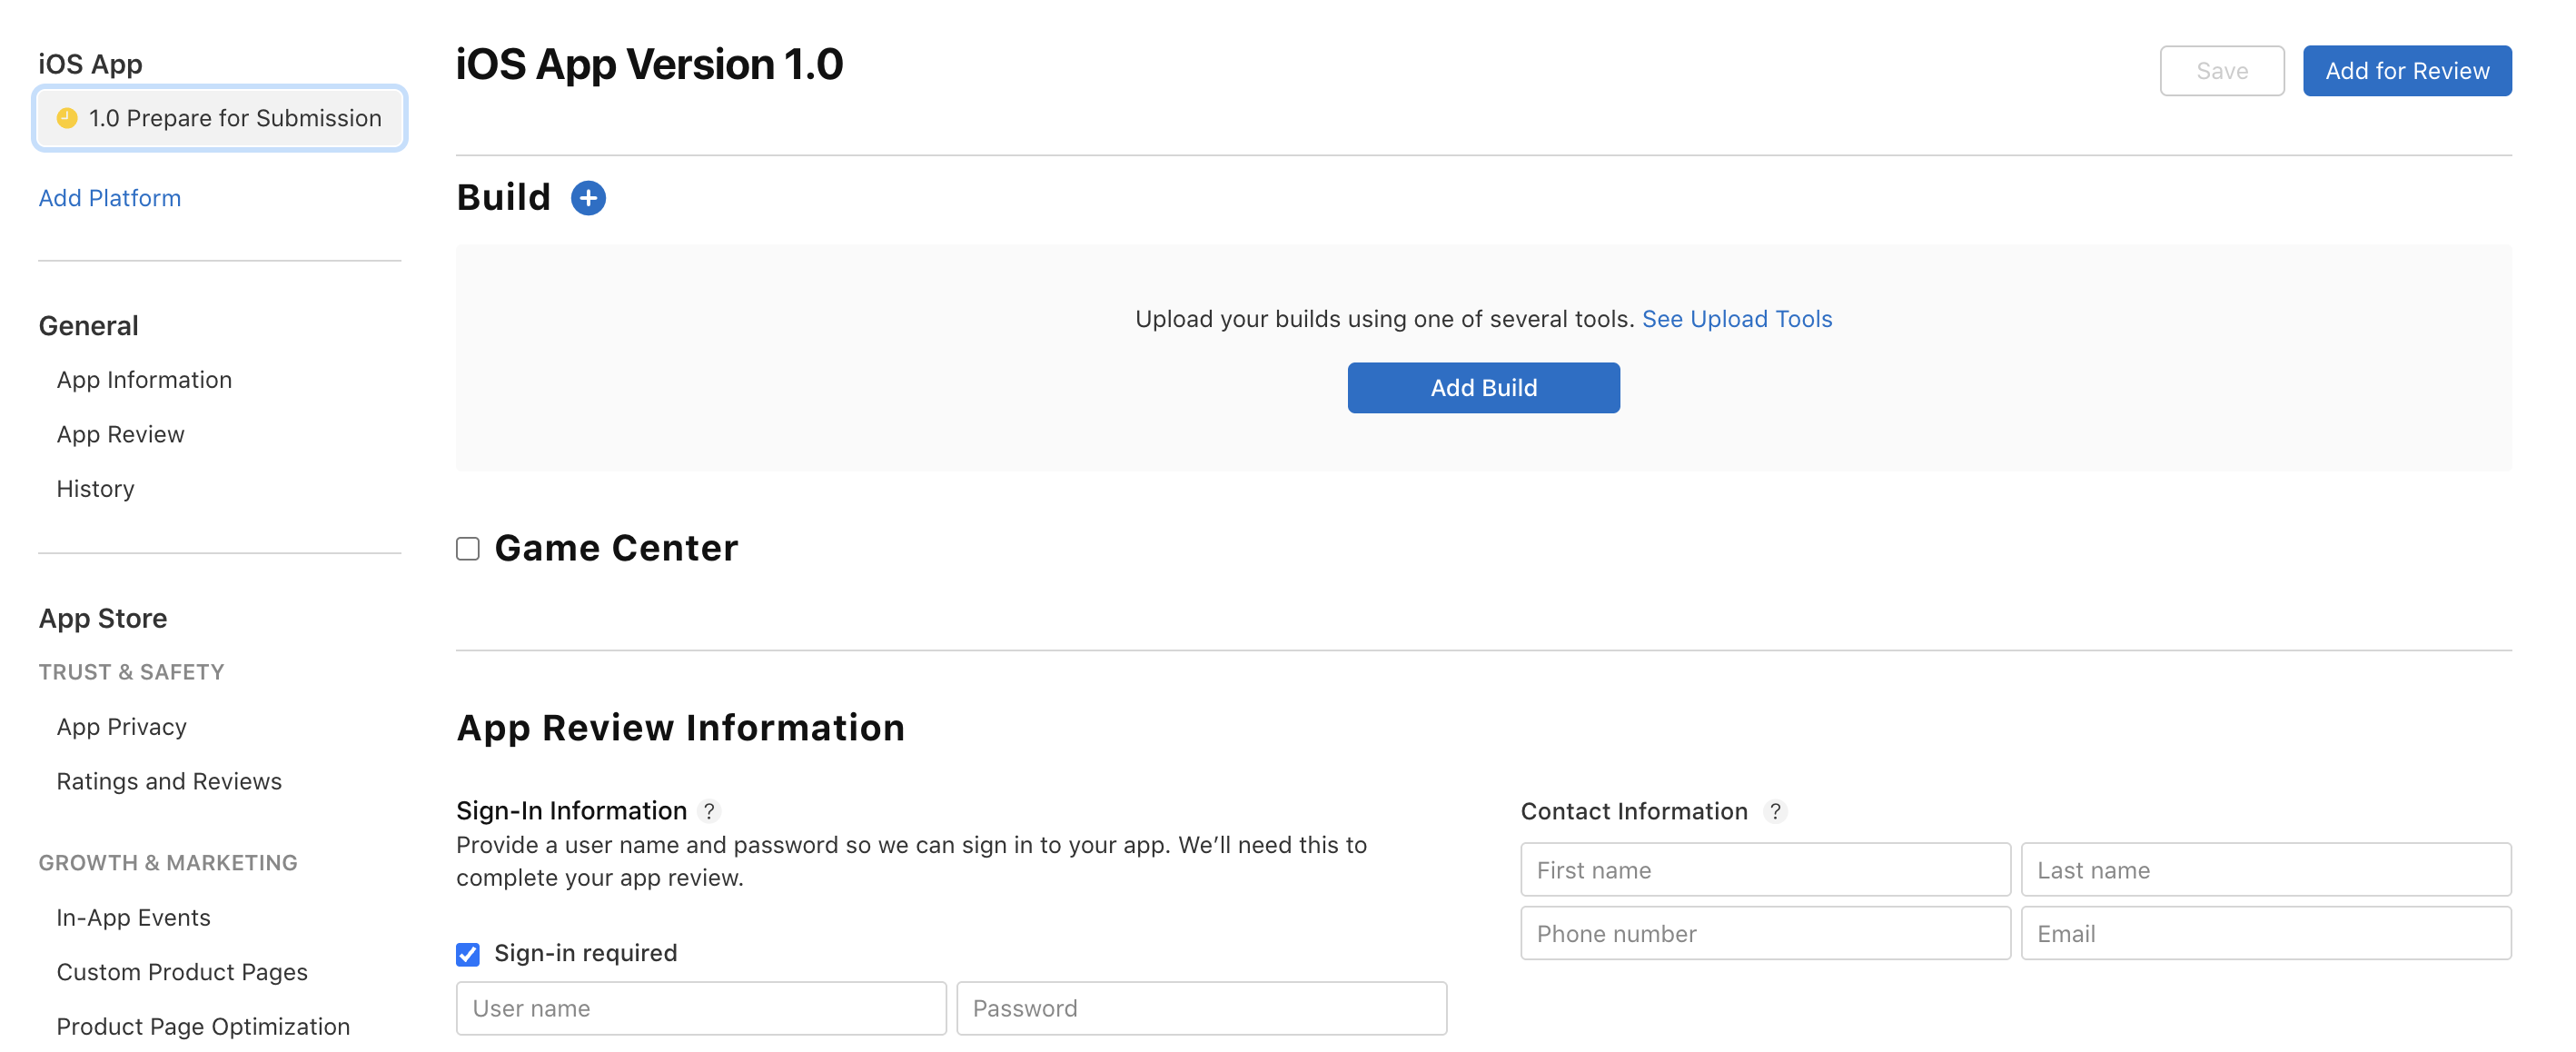
App Information
- Fill out Contact Information Section
- If Sign-In is required for your app, please provide an example account for Apple to login to.
3
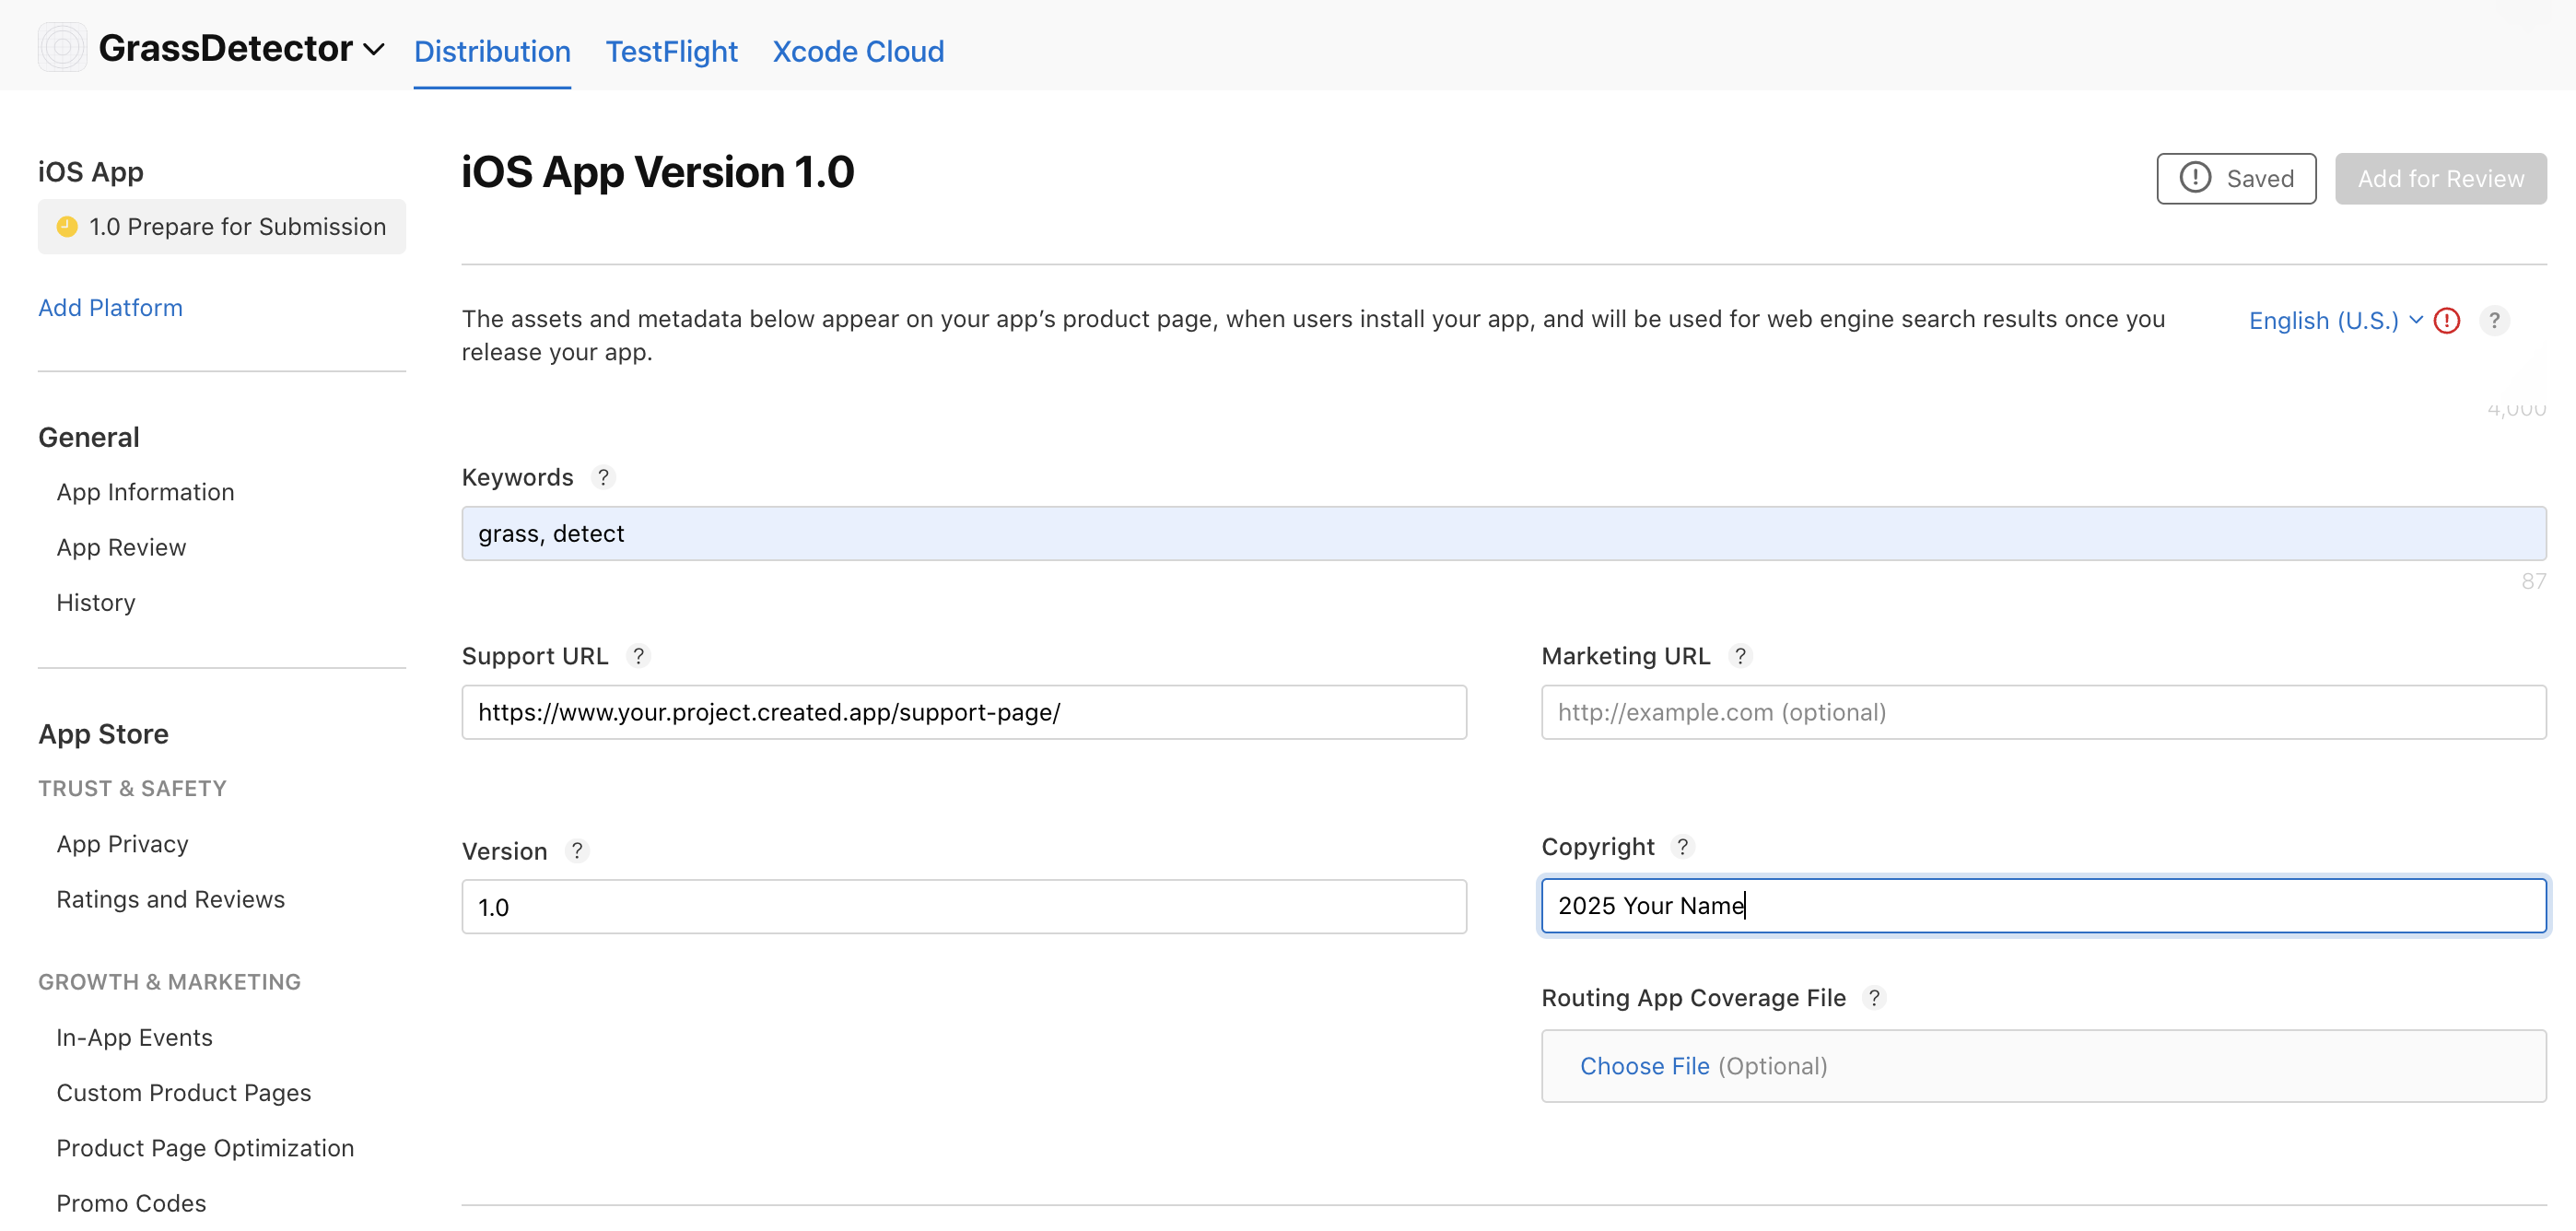
General Information
- Fill out Contact Information Section
- Add Support URL from your Create project
- Declare Copyright information
- Add relevant Keywords
- Select appropriate Category
4
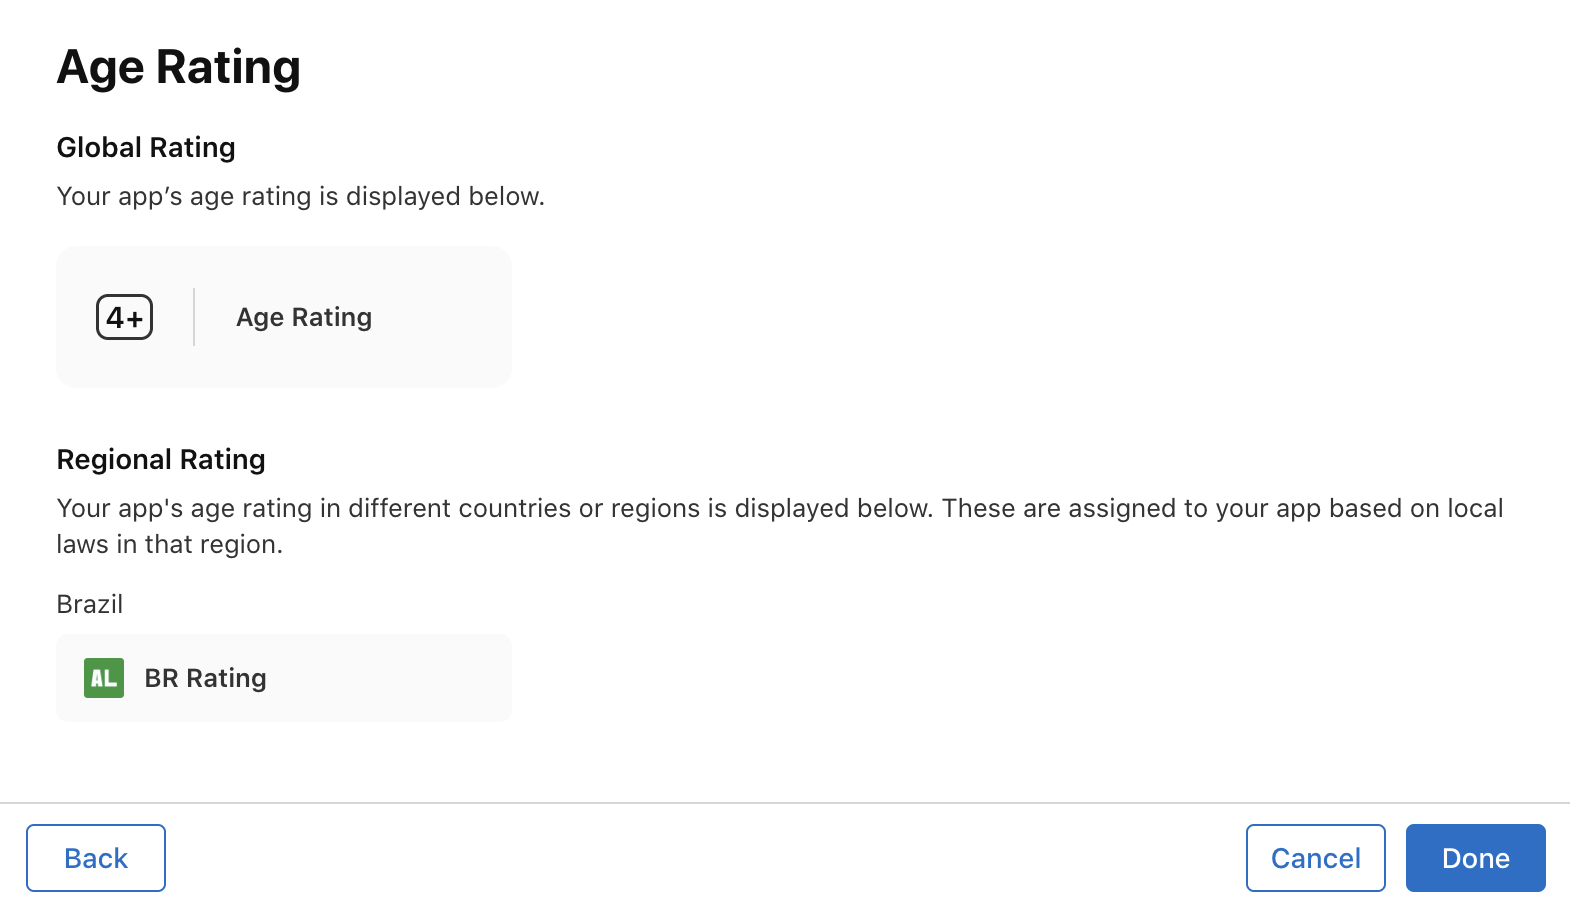
Age Rating
-
Fill out Age Rating Section underneath the General Information section
5
Choose a build
- Scroll down the “Prepare for Submission” tab to find the Build section.
- Select the build version you want to submit. The latest being on top.
6
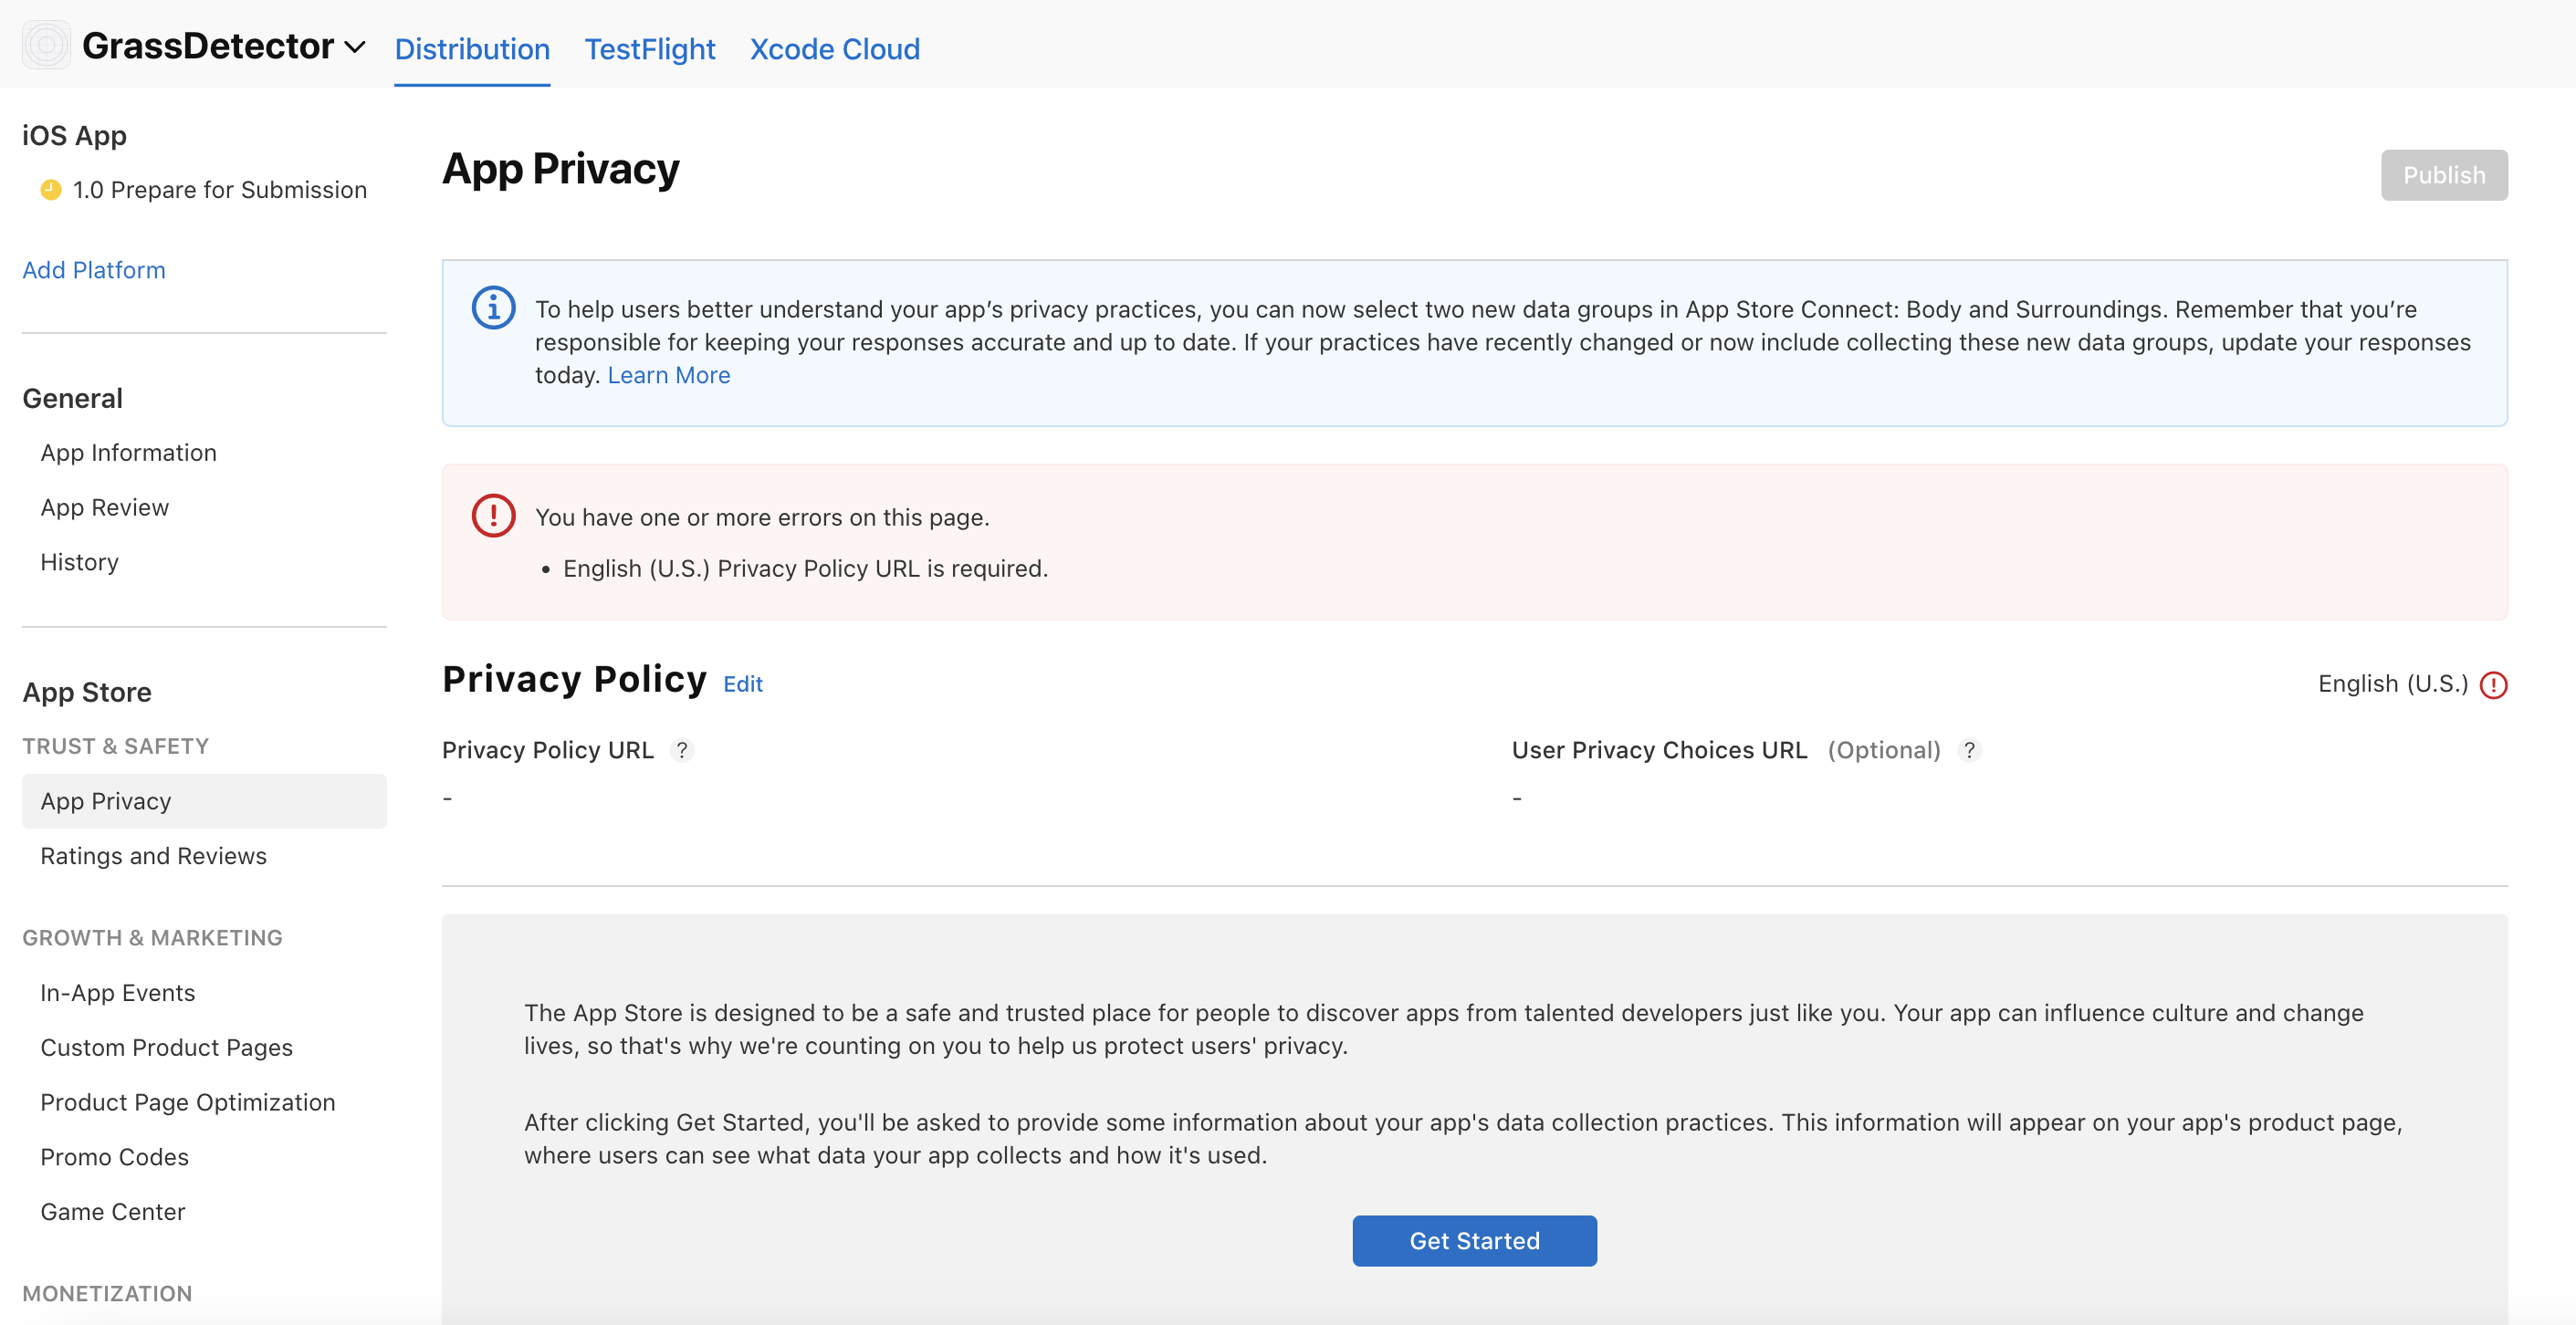
Privacy Policy and Data
- Create your own Privacy Policy URL using Termly
- Complete Data Collection Review
- Declare any third-party data collection
- Specify data usage and storage
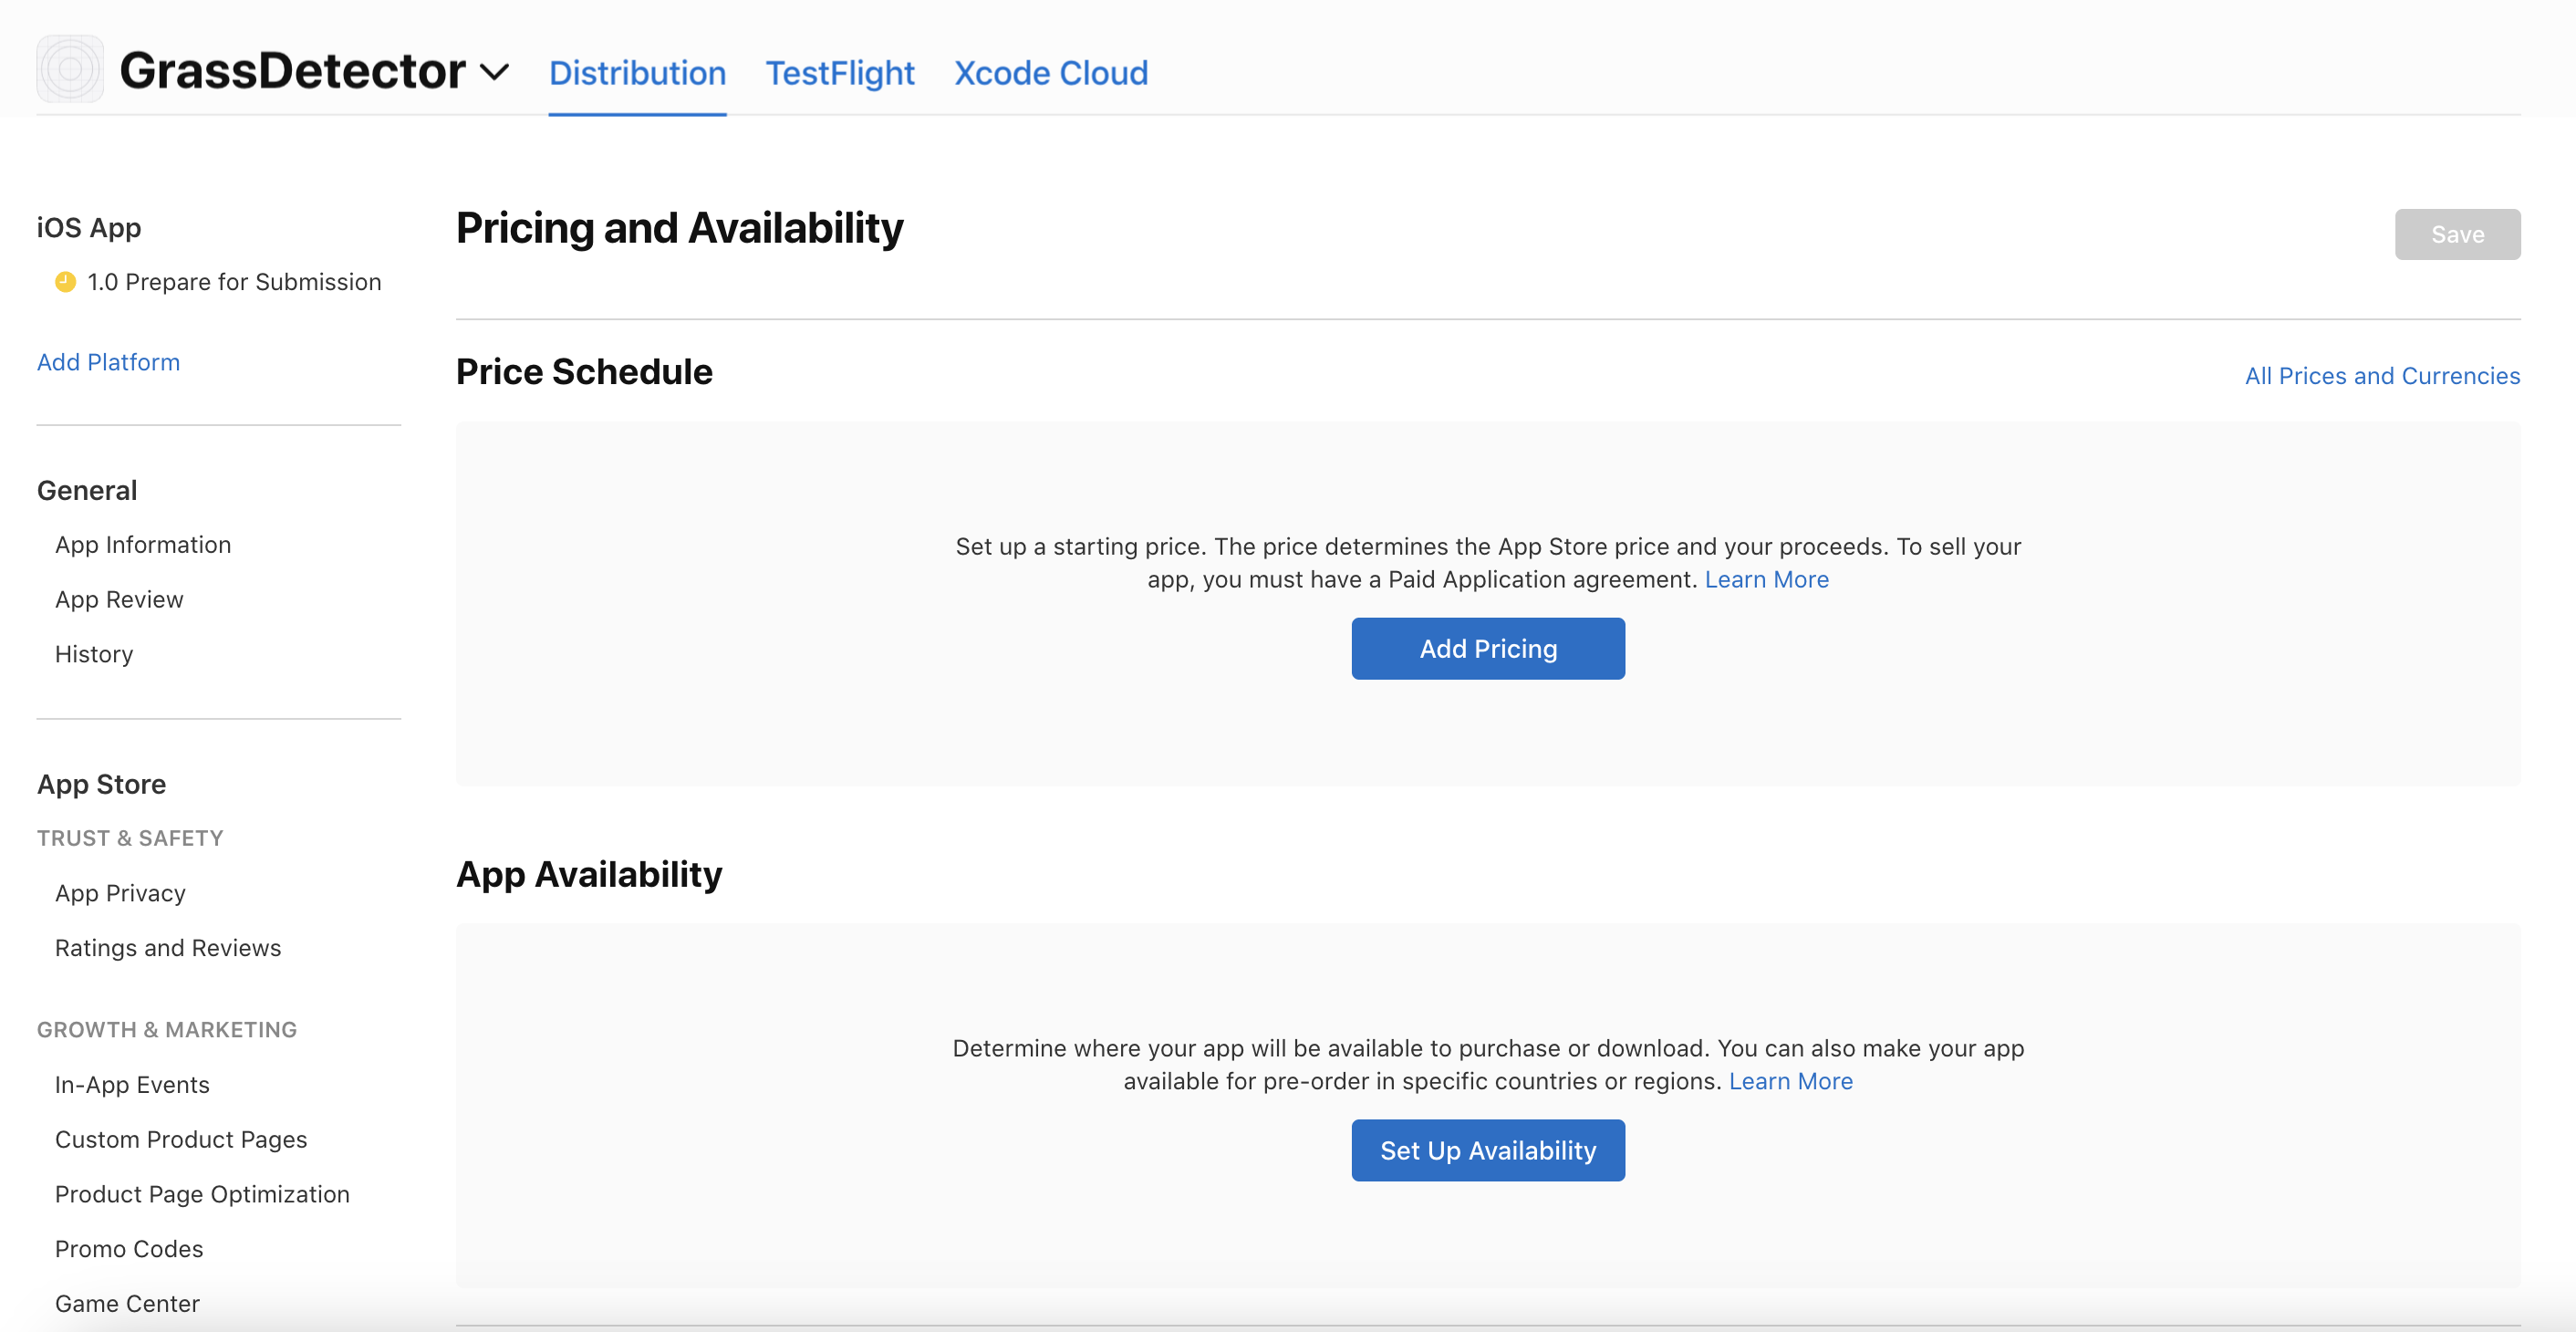
7
Pricing and Distribution
- Set app price (Free or Paid)
- Configure in-app purchases if applicable
- Set availability in different regions
-
Configure promotional codes if needed
Apple requires you to submit your country’s respective tax form to earn monetization. Refer to it here.
8
Review Process
- Submit for review
- Monitor review status in App Store Connect
- Respond to any feedback from the review team
- Address any issues promptly
Related Articles
- Getting Started - Build your first mobile app
- Device Capabilities - Available device features and APIs
- Publishing to Android - Deploy to Play Store
- Testing & Debugging - Test and debug your app
- ← Back to Mobile Overview - Return to main mobile guide